Chocolate Sweet Potato Tart with Hazelnut, Walnut and Black Sesame Crust: Rich in Fiber, Protein, Vitamins, Minerals, and Healthy Fats
This tart is everything you want in a nourishing dessert…. decadent, silky chocolate mousse-like filling layered over a date-hazelnut–walnut crust with hints of black sesame, vanilla, and sea salt.
Made entirely from whole-food ingredients and balanced with healthy fats, protein, fiber, vitamins, and minerals. It’s also completely free from all gluten, dairy, eggs, and refined sugars. Perfect for dinner parties, holidays, or when you just want something sweet, that’s not too heavy.
Both the crust and filling come together easily with a food processor. You have the option of a no-bake crust — although I prefer to bake mine for 10-12mins at 350F.
The chocolate sweet potato filling is 100% no bake — it just needs a few hours to set in the fridge once blended and poured into your tart dish.
Here’s what else you’ll need to make this at home…
Hazelnut–Walnut Black Sesame Crust Ingredients:
• 1 cup organic, unsalted hazelnuts
• ½ cup organic, unsalted walnuts
• ⅓ cup organic almond flour
• 2 tbsp organic coconut flour
• 5–7 medjool dates, pitted
• 2-3 tbsp organic black sesame seeds
• Pinch of high quality salt (I love vera salt — use code KELLEY to save!)
• 1 tsp organic vanilla extract
• 1 tsp filtered water (only if ingredients feel too dry after blending)
Your crust-ready mixture should look similar to this consistency and stick together easily when pressed:

Crust Directions:
1. Start by greasing your tart pan. I recommend using ghee or coconut oil for a sweet tart like this, but tallow or even butter will work as well since we are only slightly toasting the crust.
2. Toast the nuts (optional but recommended if you’re opting for the no-bake crust): Add hazelnuts and walnuts to a dry skillet and toast for 3–4 minutes until aromatic. Let them cool completely.
3. Blend dry ingredients: In a food processor, combine hazelnuts, walnuts, almond flour, coconut flour, black sesame seeds, and sea salt. Pulse until the mixture resembles a coarse meal. Add the Medjool dates and vanilla extract. Pulse slowly until the mixture begins to clump together when pressed.
4. Adjust texture: If the mixture is too crumbly and not sticking well, add 1 tsp water at a time until it sticks. If it’s too sticky, add some extra almond flour.
5. Press into tart dish: Transfer the crust mixture into a 9-inch greased tart pan. Firmly press into the bottom and up the sides, smoothing with the back of a spoon or the bottom of a glass. If you’re opting to bake your crust, be sure to use a fork to poke holes across the bottom of the crust to help it toast more evenly.
6. Chill or bake:
• No-bake: Chill for 1–2 hours to firm before adding filling.
• Baked: Bake at 350°F for 10–12 minutes until lightly golden. Cool fully before filling.


Chocolate Silk Sweet Potato Filling Ingredients:
• 1 ½ cups baked or steamed sweet potato (skins removed)
• 1 can of full-fat coconut milk
• 4-6 tbsp cacao powder
• 2–3 scoops nose-to-tail collagen powder from Lineage Provisions (optional, but adds an additional 30-45g protein and creates a super silky texture). Use code KELLEY to save on all Lineage Provisions goods
• 2–4 tbsp maple syrup, to taste
• 1 tsp vanilla extract (optional)
Filling Directions:
1. Blend the base: Add baked sweet potato and coconut milk to a blender or food processor. Blend until completely smooth and creamy.
2. Add the flavorings: Add cacao powder, collagen powder, maple syrup, vanilla, and salt. Blend again until the mixture is glossy and uniform.
3. Taste + adjust:
• For richer chocolate → add more cacao
• For sweeter → add ½–1 tbsp more maple
• For thicker → add more collagen or a spoon of cacao
• For silkier → add 1–2 tbsp extra coconut milk
4. Assemble the tart: Pour the chocolate filling into your prepared crust and smooth the top.
5. Chill: Let the tart set in the refrigerator for at least 2 hours, or overnight for best texture.
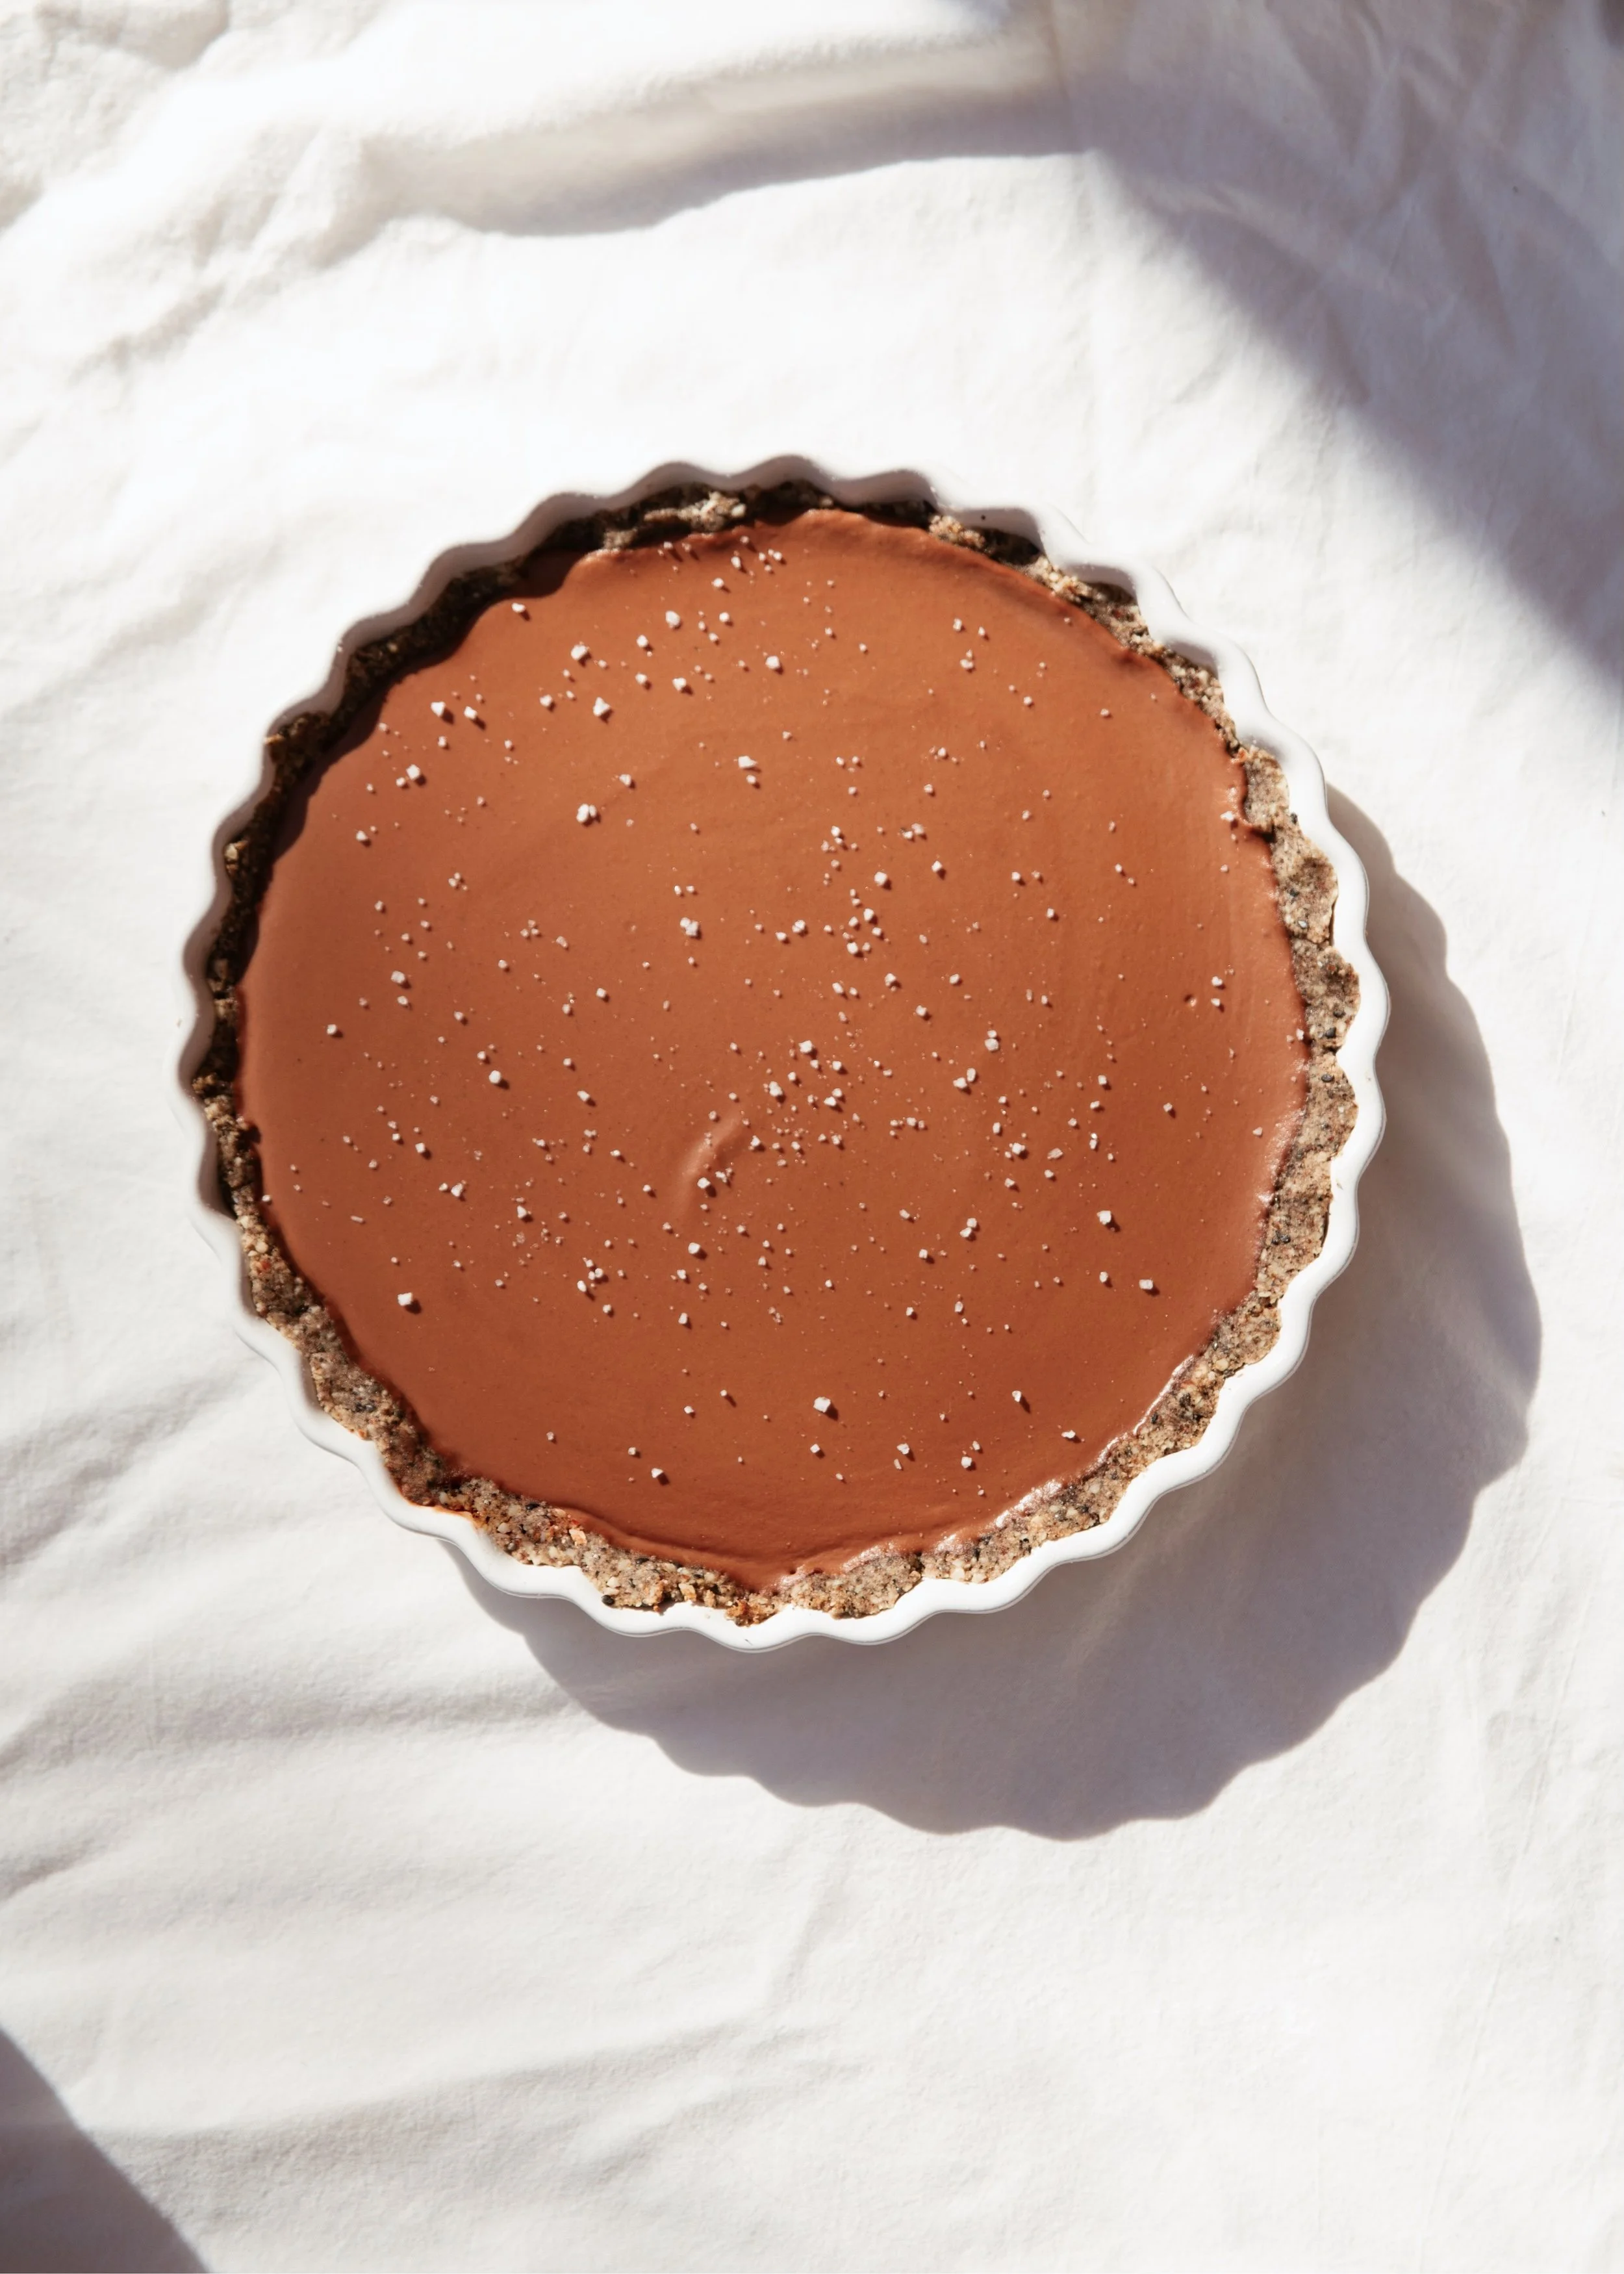
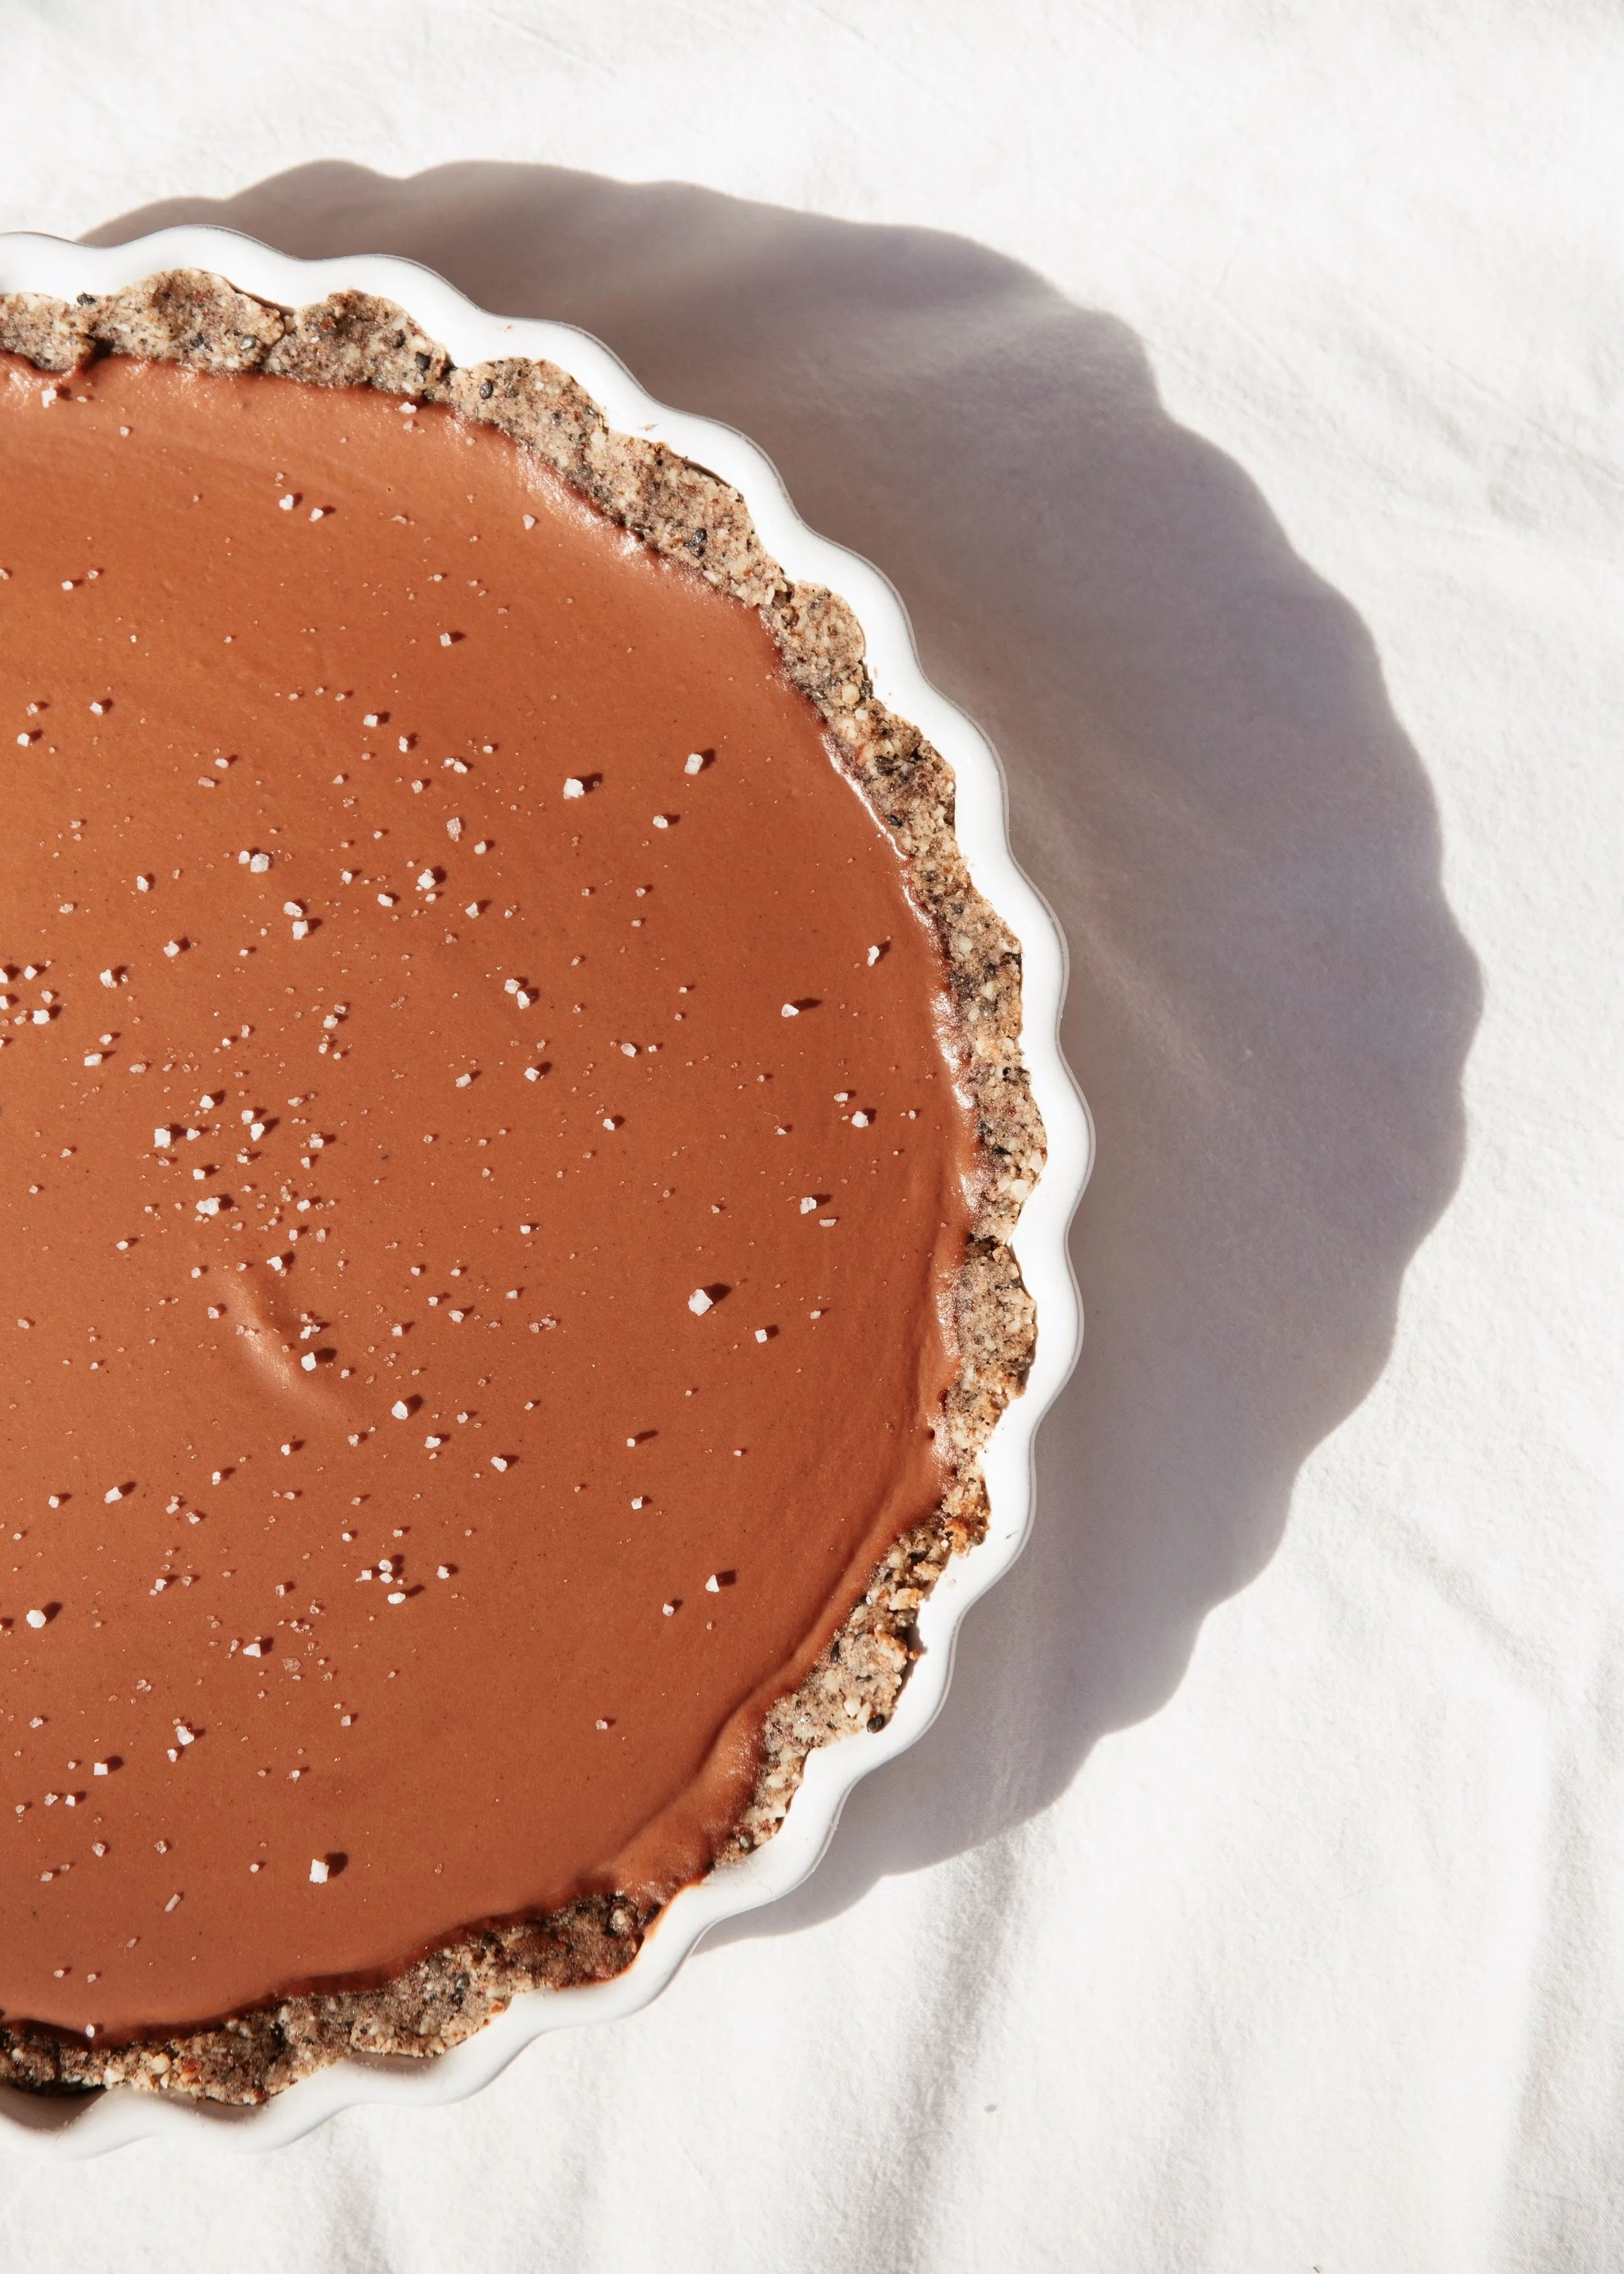
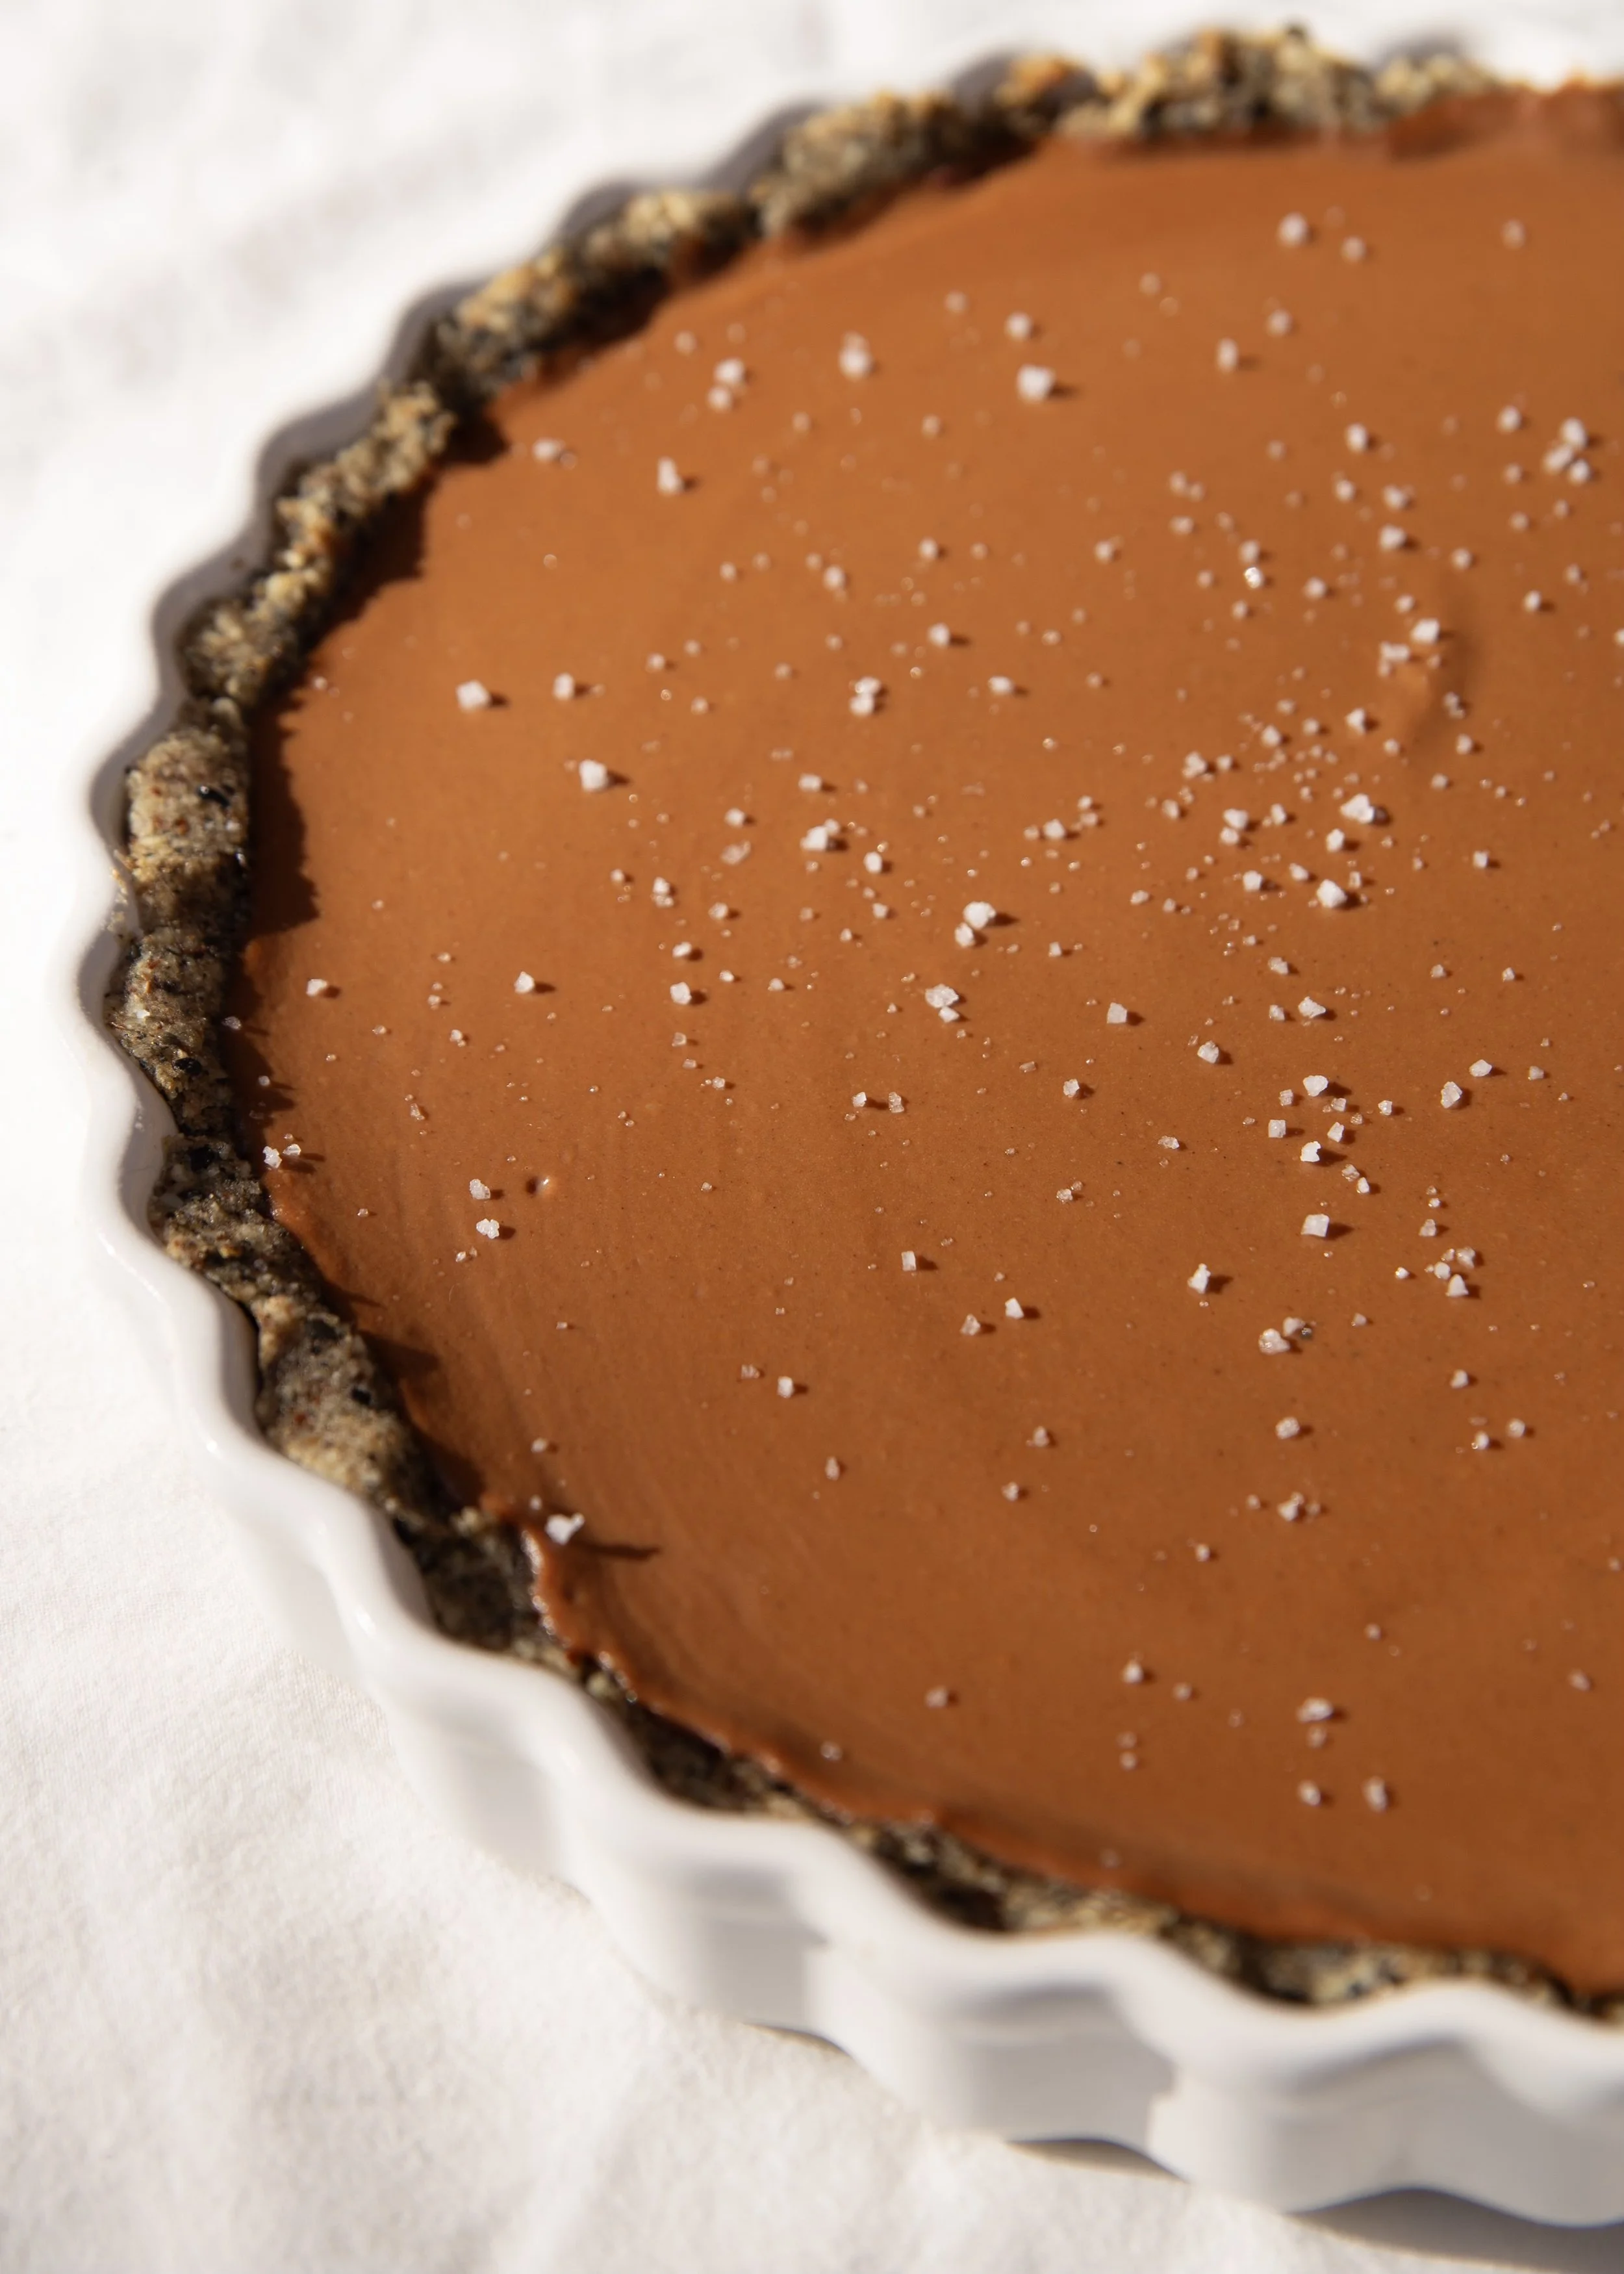
6. Serve: Slice, garnish with flaky salt, berries, cacao nibs, black sesame, homemade whipped cream, or even a high quality olive oil like the one from Olive Dorado — enjoy!
Helpful Info:
• Collagen is optional: It adds protein and a silky texture but the tart sets perfectly without it.
• Make it nut-free: Swap hazelnuts + walnuts for sunflower seeds and pumpkin seeds.
• Make ahead: This tart keeps beautifully for 3–4 days in the fridge.
Let me know if you make this at home! I’m absolutely obsessed with it and love bringing it to dinner parties and birthdays alike!
xo,
—Kelley
Disclaimer: The recipes and health information shared on this website are for informational purposes only and are not intended to diagnose, treat, or cure any condition. Results may vary. Please consult with a healthcare professional before making any dietary changes. These are personal experiences and should not replace professional medical advice.